This is when I realised that my printer wouldn't work... I wanted to print a stencil but it just wouldn't let me.
So because my design is mainly concentric circles, I decided to go old school and unearthed my very basic and limited geometry drawing skills and drew the sketch directly on the cover. Of course, the pencil I was using didn't mark the leather all that well and I had to tweak some of my tools... I got out a Frixion pen, did a test to make sure I could delete the marks afterwards (I could) and got started.
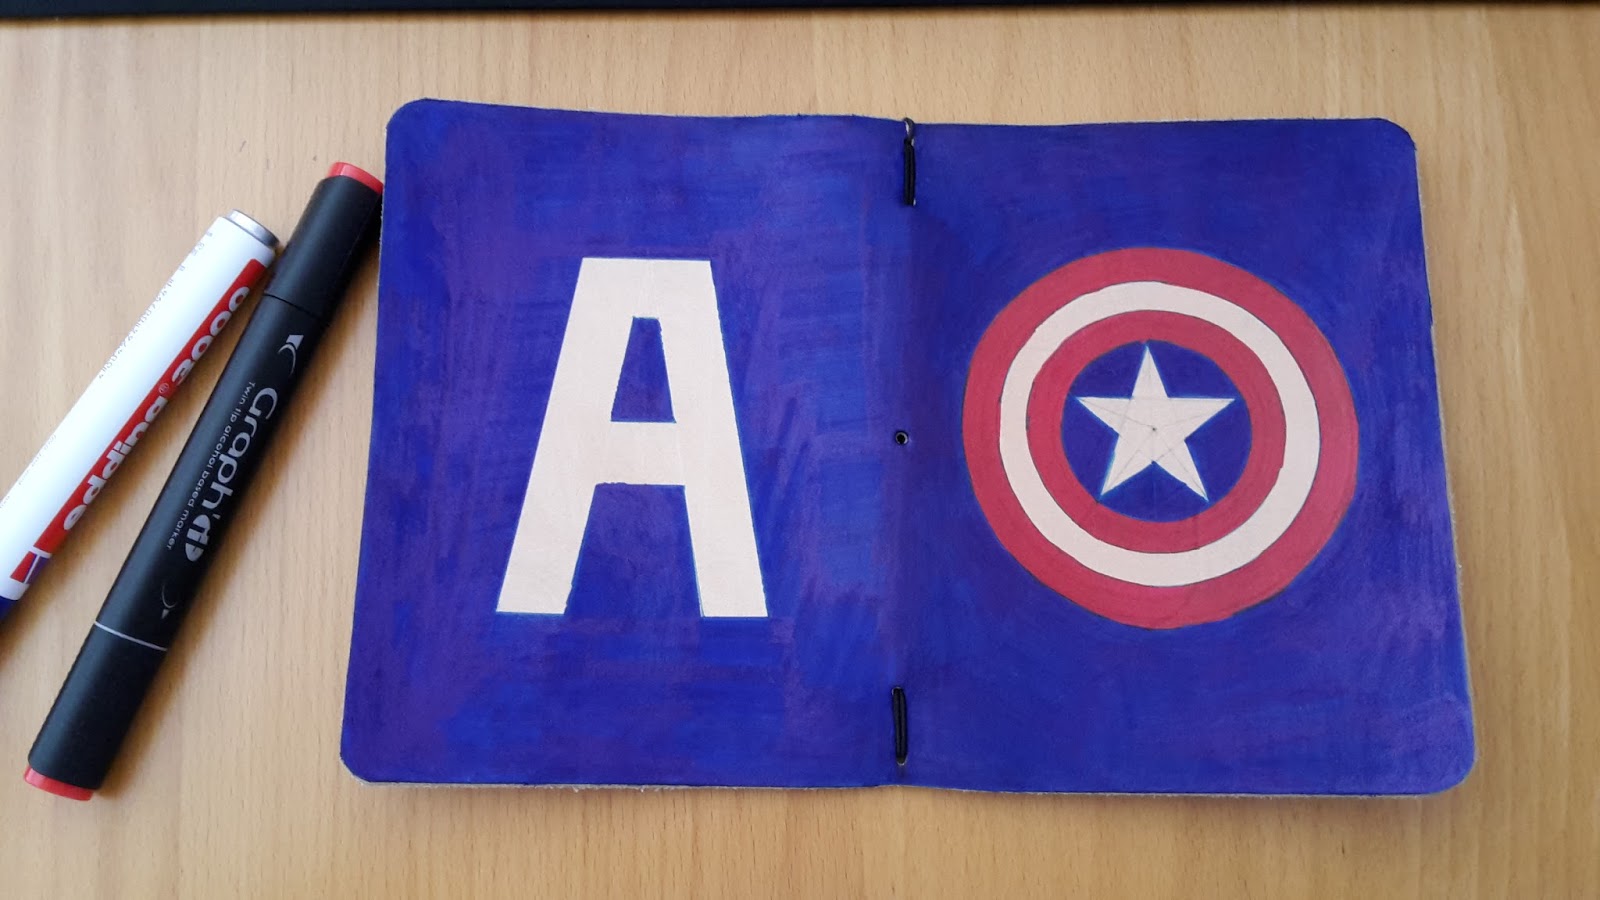
Once I was done with the initial sketch, I took out my alcohol-based markers. I know this is not the traditional tool to use when applying colour on leather, but I had some great results on the bookmark I did with a Deadpool design so I thought I would give it another go on a bigger project.
I started colouring the main sketch (concentric circles) and it looked good. Then I coloured the background completely with a blue Edding marker. And this didn't look good at all... I was really disappointed although I did expect it might do something like that. I had colouring marks everywhere... This is definitely one of my pet peeves when using markers, despite the fact that I love working with them...
I waited a while for the original colouring to dry and I went through it again with my marker and to my surprise, the marks were less pronounced the second time around!
I have to say though that the marker I used for the design is different from the marker I used for the background. For the design, I used a red marker from the brand Graph'It.

I already have 2 shades of grey of the same brand and I love them. Unfortunately, I cannot find them in shops in Germany so whenever I go to France, I make sure to get a few markers before leaving! They are really good and almost half the price of the Copic pens. I don't know how they compare with Copic pens in terms of quality but I really like the Graph'It ones.
The marker I used for the background is a blue Edding pen that is available pretty much everywhere and it feels maybe a bit less 'juicy' than the Graph'It pen but it is still very good.

This morning, I went over the cover a third time and the marks are still there, although less pronounced than after the second go.
One thing I noticed, which should be obvious, is that the cover feels more rigid or at least drier than it did before I started this project. But this is hardly surprising since the alcohol contained in the pens will have contributed to the drying of the leather.
And here is the finished (for now!) product:
I will wait a little while before moving ahead. I'm still not sure whether it needs one more layer of markers or whether I can just leave it as it is and add some product to soften the leather. I could also give it a vintage feel as well and it would take the emphasis away from the marks. Decisions, decisions...
No comments:
Post a Comment